Hello Everybody It is Em!
As the days before Christmas keep on getting smaller, we are currently knitting our fingers off! Brittany just finished two scarves (and they look so cool!) Stay tuned for her blog entries about these fab scarves!
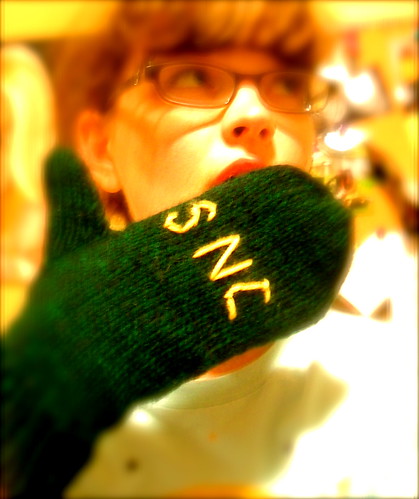
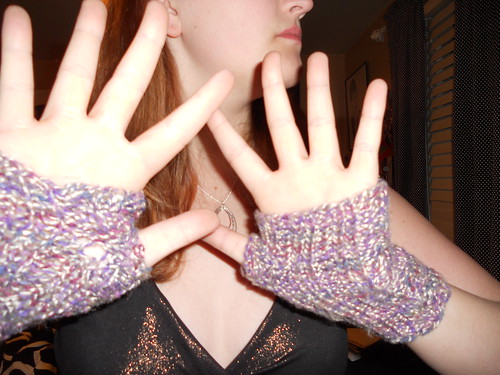
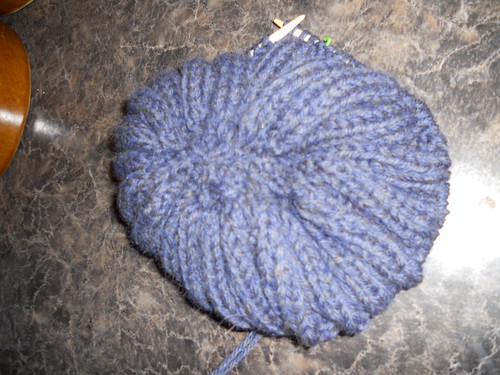
Our goal for us to knit 5 patterns before New Years is going along well. I am almost done with the Lion Scarf, I'm also making the twisted rib hat (for an Xmas Gift, so it will be finished by the 25th) and Brittany has one more project to make. We promise we are working very hard to achieve our goal! For now, we are trying to write about some of our projects that we finished before we started our blog. One of those projects is the Flip Top Mittens.
I really did not care for this pattern. I have a different pattern that I use for flip-top mittens that I absolutely love! I have made that pattern quite a few times and I never had any issues with them.
When I started this pattern, I was very shocked to see that the wrist pattern was not a normal rib pattern. I was too much in love with ribbing to try this pattern. However, many people on Rav stated that this was their favorite part! So now I feel like I missed out on something special. The pattern is easy just some Yo's and ssk's.
This pattern was just not for me. And that's okay. You might have better luck knitting with this pattern. I found the instructions to be unclear and unnatural for me. I suggest to still give them a try and let me know how they worked for you!!! The reviews on this pattern are mixed on Raverly. Many people changed the top of the mittens because they had a hard time working with the pattern. There are others that said they loved the pattern and it came easily to them.
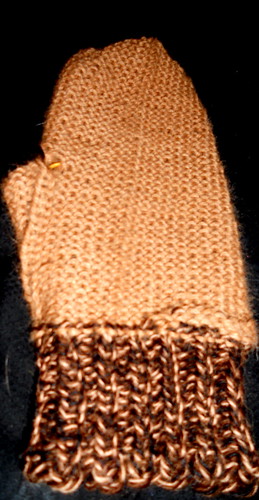
The biggest thing I found was making the top of the mittens. I felt that the part that covered the bottoms of the fingers was not enough space. Plus this pattern doesn't have you knit down on the mitten, so the popup covers part of the actual mitten. Once the popup part hit the mitten it stopped. That causes fingers to pop out. In my mitten, I picked up stitches and ribbed down for about 2 inches and then added a button so Chelsea could seal the flap shut.
She choose pink...good color;)
The seal would then not have any holes, unlike the original pattern. This way part of the mitten and the popup part overlap, which lacked in the original pattern.
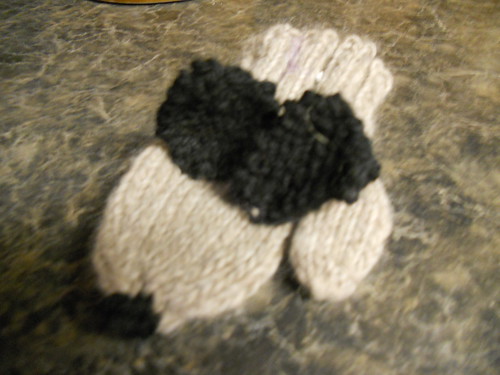
Since I didn't knit down enough...I still had one hole. Chelsea had a pinkie that wouldn't stay in the mitten. You can see in this picture that some of the flap that is supposed to cover up the mitten is sticking up.
Therefore, I had to have Chelsea wear the mittens and seal the hole shut. It worked out very well. Next time, I would make the ribbing part 3 inches instead of just two! Nevertheless, I was able to make them work for my dear old pal Chelsea. She loved the mittens! She said they were very warm!
For those who are curious, I used Nashua Granite Yarn. (Sorry Cascade, she wanted grey and this was in my stash!) The yarn worked up beautifully!
As always, happy knitting!
Em














No comments:
Post a Comment