


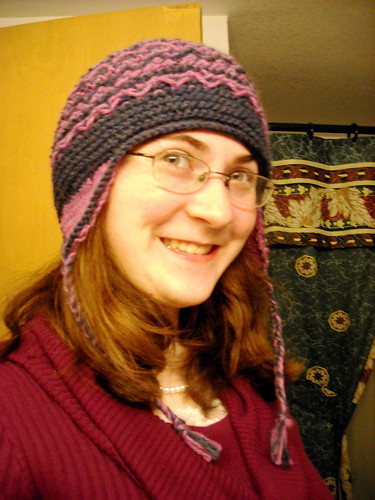
Hey everyone, it is Brittany again. Today I am sharing pattern #53 the two-color slip-stitched hat. I decided to make this hat after my mom complained that my bobbles and cables hat was for me. She wanted a hat to wear to go up the rather large hill that connects our house to her workplace. I had already made my mom the Pattern #34 Checkered Mittens so I needed to make a hat to kind of match that. I found left over yarn from two previous projects and started to work on it. I really liked the way it was knitting up and spent all of Wednesday night knitting on it. Thursday night I was finishing up on the hat when I noticed something... I had knit the entire thing on circular needles when the pattern was meant for straight needles. I contemplated frogging the hat and starting over but my mom really liked it and did not want me to start all over. I left the hat the way it was, but it was a lesson for me about the importance of really reading through a pattern before you start. I also hope it is helpful to all of you so you do not make the same mistake!
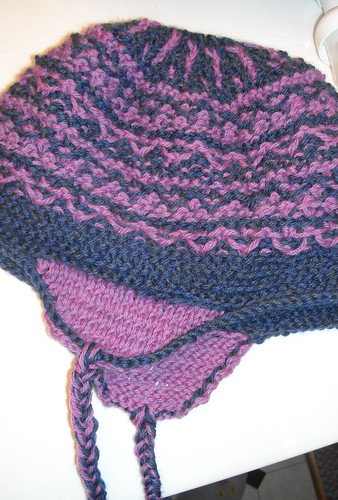
Anyway, I still like the way it turned out, the colors together are really pretty. My mom was a bit worried it would fall off her head because the brim was rather loose. She thought that she would also like some ear flaps, which would solve the problem. I added some earflaps, which I actually really like. I think it kind of adds something to the uniqueness of the hat. If you would like to add earflaps to yours here is what I did:
Holding the back of the hat find the seam.
Approximately 8-10 stitches to the right of the seam pick up 20 sts
Using color B, K20 sts then turn
P20 sts turn
Ssk, K16, K2tog turn
P18 turn
Ssk, K14, K2tog turn
P16 turn
Ssk, K12, K2tog turn
P14 turn
Ssk, K10, K2tog turn
P12 turn
Ssk, K8, K2tog turn
P10 turn
Bind Off 10 st
Repeat the process by starting the second earflap 8-10 stitches to the left of the seam.
After finishing both earflaps I then picked up all the stitches starting from the seam over the earflaps and back to the back. I finished by binding all stitches off in a knit stitch.
Then cutting 12 strands of yarn approximately 24" in length (6 color A, 6 color B) I pulled 6 strands through each earflap (3 of each color). Half of each strand was on each side of the earflap. I then braided the yarn using two strands from the front side and two strands from the back side for each of the three braid strands. This helps to keep them on the ear flap. You can kind of mix and match the strands or put some together how ever you like.
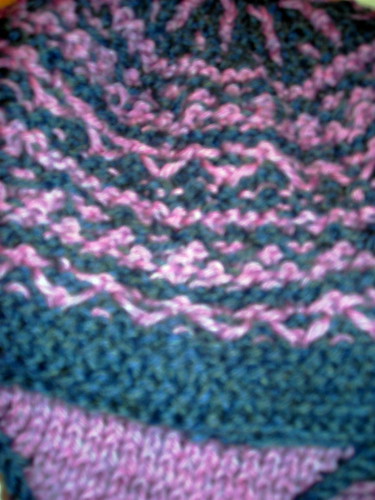
You can see the results for yourself:
If I were to redo this hat (which I may do after some of my other 60 Quick Knits projects are done), I would of course follow the pattern more correctly. I think I would still do the project on circulars because it is less of a hassle. I do not particularly like the idea of sewing the seam of a hat because I do not know that it would be as sturdy. However, I could get away with doing the pattern on circulars as long as every WS row (even rows) was reversed. For example, if it says to purl row 6 you would knit that row instead. I also would suggest going down a needle size or even two on the initial cast on. This would make the brim a little tighter on the head.
Yarn Information: Cascade 220 Heather - #2419 (Aster) and Cascade 220 Heather - #2424 (Summer Night)
I hope you enjoyed reading about this hat and I hope it helps you. If you would like to see more pictures of this project and my other 60 Quick Knit projects check out my Flickr Account.
Brittany
No comments:
Post a Comment