Hey It's Em!
I'm working on the Cabled Scarf Hat right now. I am using Berant Alpaca Yarn and Patron's Wool for this project. (It wasn't my idea! I'd use 220 but I needed a thicker Alpaca Yarn that was within my tiny tiny tiny yarn budget!) At first I was a little worried about starting this project. To me, it looked a little strange to have a scarf attached to a hat. It also looked hard. I'm not good at following cabled charts. Well, when my co-worker Cathie wanted me to make one for her, I figured I could try to keep an open mind and try something new.
I really like this pattern because it is a great cabled pattern to work with. If you are learning how to use a chart, it is a great beginner project to do. I recommend using a post-it note to track your progress. This way you can move it while seeing the work you did in the previous row as seen below.
(I purposely kept the rows hidden from the camera because I fear that somebody will interpret this photo as me giving away part of the pattern. The intention is to show how the post-it note works with a cabled chart.)
It is a quick knit. I did one tail of the scarf in a weekend. The pattern is simplistic. The bobbles were also very easy. It is one of those patterns where you have to do what it says and you won't know how it works out until you finish your first one. Now, after doing a few bobbles, it makes a lot more sense. I recommend using a sharper needle to do the bobbles. I had a hard time preventing my yarn from splitting when I had to P3 tog.
I will be blocking this scarf, which I am looking forward to doing with one of my good friends. (If she's willing to help me!)
Connecting the scarf to the hat was frustrating for me. First of all, the pattern requires you to CO 44 stitches, k 2 rows and then put these stitches on a holder. Then, repeat. Then use a circular needle to add all the things together.
I decided to do this in one step.
This is how I did it.
CO44 Stitches, place one scarf onto the circular needle, knit/purl stitches as they come, CO44 more stitches, place the second scarf onto the circular needle. Knit/Purl stitches as they come, place marker and join round.
P44, knit/purl stitches as they are for the cabled scarf section,
P44, knit/purl stitches as they are for cabled scarf, sl
K44, row 1 of scarf pattern, K44, row 1 of scarf
and so forth.
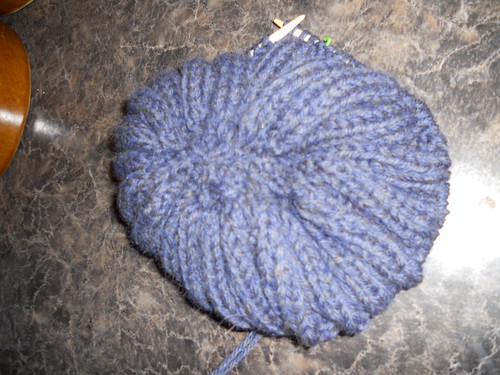
I had to change the needle size for my hat too. I used a size 7 but the hat was becoming too large. I ripped out the hat and started again on a size 6. This time, it works a lot better.
I am still working on the scarf pattern. I will be writing another blog entry about the hat once the hat section is complete. However, I know there are people out there that are wondering how the scarf part of the pattern works.
This pattern has a few downfalls. First of all, it is too short. The scarf part that is. All of the people who made this scarf on Ravelry, made the scarf part of the pattern longer. I hypothesize with the popularity of long scarves today, it is possible people just want longer scarves. For me, the original 3 pattern repeat did not work as a scarf. Instead it worked as long ties. I did a four pattern repeat and the scarf works for Cathie. (I would have done one more repeat.)
Over all, I am enjoying the adventure I am having with this scarf!
Happy Knitting!
E
Thursday, March 10, 2011
Pattern #52 Cabled Scarf Hat
Labels:
cabled,
cabled scarf hat,
cables,
hat,
pattern #52,
scarf
Subscribe to:
Post Comments (Atom)














No comments:
Post a Comment