


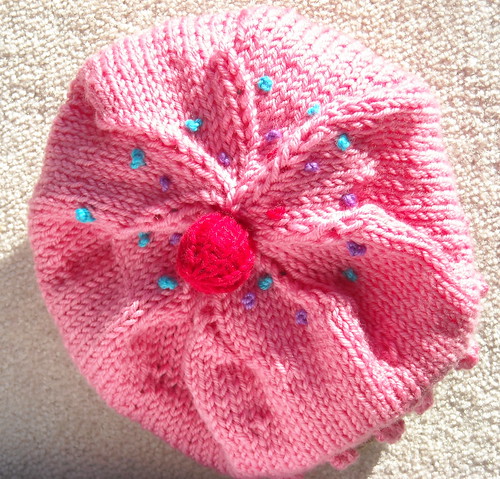


Hello friends! This is Brittany, and it has been much too long...
First, I apologize to all of our readers. I realize there has been a serious lack of posts. During the school year, I tend to get pushed in several different directions and suddenly months just slip by. (December tends to be the worst for Music Teachers, just as a fair warning ;))
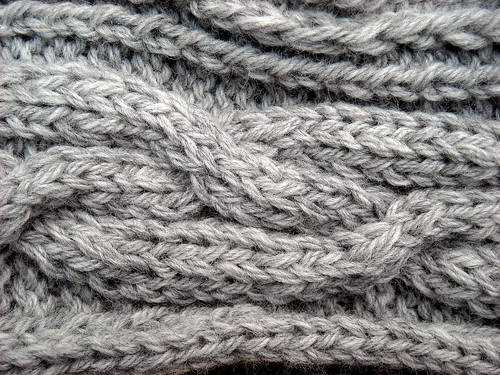
Anyways, today I'm going to tell you all about the Cabled Brim Tam. I started and finished this hat several months ago (around July). This pattern was very quick and exciting to knit. I have to admit I was a bit nervous about this pattern at first. Em is really good at cabling, but I have only cabled a few times. The first time I did alright, but when I tried a cabling project on my own I became all confused and my project turned out like a mess! However, I had a friend who wanted this hat and so I figured, why not at least give it a shot!
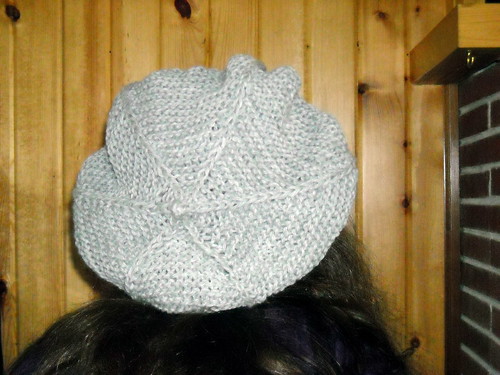
Here is the result:
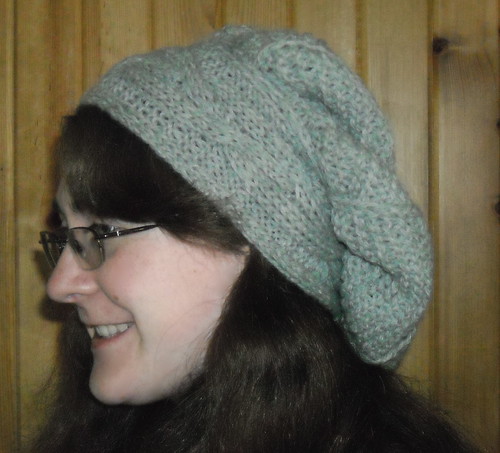
After making the hat, one of my knitting friends, Zoe (pictured below, doesn't she look great in this hat?), commented on how much she liked the hat. She was then very surprised by her own green cabled brim tam made especially for her just a few weeks later.

So now what you really want to know, what was difficult about the project and what should you know if you make it:
First, I had to start this project over about two or three times at first. That is because I was reading the chart incorrectly. A lot of the patterns in this book are written so that all the purl stitches are - signs and all the knit stitches are blank. However, in this pattern you need to keep track of if you are on the right side or the wrong side. If you are on the right side the stitches are different than the wrong side. I got the hang of this after a while, but if this becomes too difficult I would suggest writing it out for yourself. (Notes made by YOU are normally the easiest to read, we all think a little differently)
One other thing, I noticed that I started to run out of yarn for this project. The project calls for one skein, but I almost had to use two on both hats I made. I also cut out several rows from the pattern when I made this. I realized that the hat was slouchy enough without these rows. You can look at the results and decide for yourself if you like the results or would want a slouchier hat. Here is what I did (and it only used one skein with a tiny bit of yarn left over):
Kept the pattern as is until rnd 34
Skip rnds 35 & 36
Skip rnds 37-44
Follow instructions for Rnd 45 & 46
Skip rows 47-50
Follow instructions for rnd 51-55
So, as you can see I did skip a LOT of rows. It saves some work and still gets a pleasing finished product.
Yarn Information: Cascade 220 - #8401 (silver grey)
That is all for now. As always you are welcome to view more pictures at my Flickr account,
Brittany