The Case of Thumbs on a Mitten
Hey Everybody, it is Em!!!
I'm so excited to present you with the finished...Cabled Cuff Mittens!
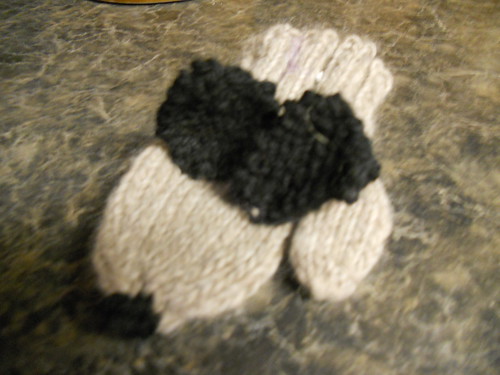
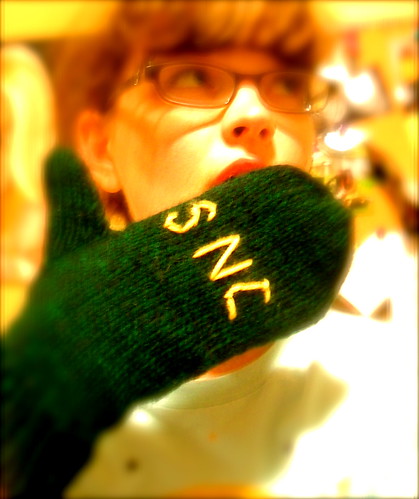
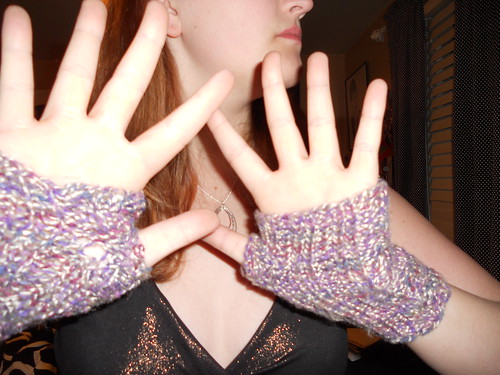
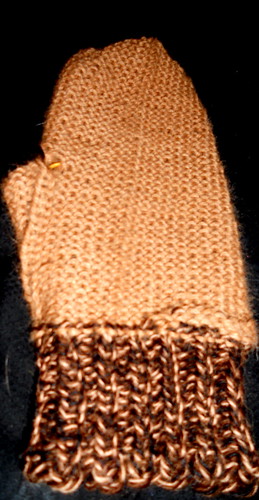
I wanted to show you photos of my other finished project, the Reverse Stockinette Mittens, however my camera is currently MIA. Therefore, I cannot post anything about my new mittens until it is found. Either way I am very proud of these mittens. They are truly a quick knit. Now, these mittens are at their new home, with my friend Sarah. They are nice and long and fit very nicely on Sarah. They have enough room to stuff an extra layer of mittens or even part of a coat.
I want to restate how I really enjoyed this pattern. I didn't find any errors. I read, on Raverly, that it is advised to knit a 2-4 rows of st st, before you start the cabling pattern. That way it is easier to graft. I personally didn't find this something important to do. However, if you prefer to have a little bit of material before you start, it is not a bad idea to knit a row or two.
I also saw an amazing spin on this pattern. AnnetteTR on Ravelry made her cabled mittens white with blue cabling. It was the coolest version of the mittens ever. I asked AnnetteTR how she did this. Her description was simple. Since I do not know her personally, I do not feel comfortable posting her tips nor her photos on our site. However, please PLEASE look her up and click "love" on her mittens. They are to die for!
I wanted to also talk about the art of making thumbs.
When I first started making mittens, I always struggled at making the thumbs look convincing. If anything, they looked strange and tacky. I pondered on HOW could I make better thumbs? I didn't really learn the secret of making thumbs look awesome until I started taking some risks.
Here is what I discovered about making the thumb look normal. I wished somebody told me this when I was learning about thumbs!
1) Don't fret about holes that are between your thumb and the rest of the mitten. You can always sew them shut.
I didn't understand that it was an option to sew something shut. I always spent so much energy trying to pick up stitches that my thumbs looked mutated. Now, I pick up just one or two and sew those shut later. I cut a long tail and use that strand of yarn to weave in ends, as well as, close up the seam.
2) Pick up the correct number of stitches...plus one more.
I always pick up one extra stitch than what the pattern calls for. Then I knit those two together. This helps make that picked up stitch stronger.
3) The more you do it, the easier it becomes.
In time...your thumbs won't look strange. Mine don't anymore.
I hope that helped!!!! If not, I hope you enjoyed the photos of my newly made mittens! Again, I cannot rave on how awesome this pattern was!!!
Have a great week!
Em














No comments:
Post a Comment