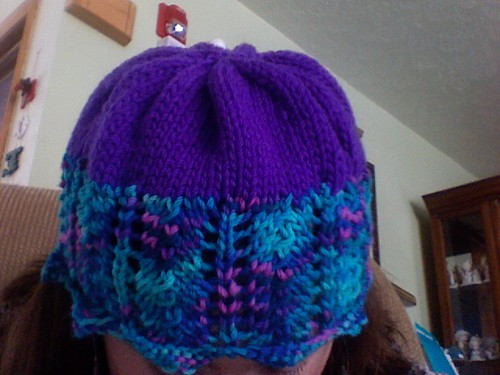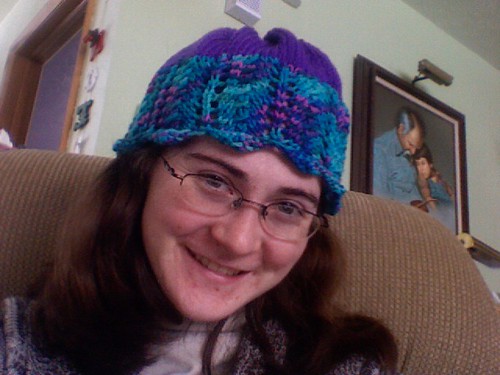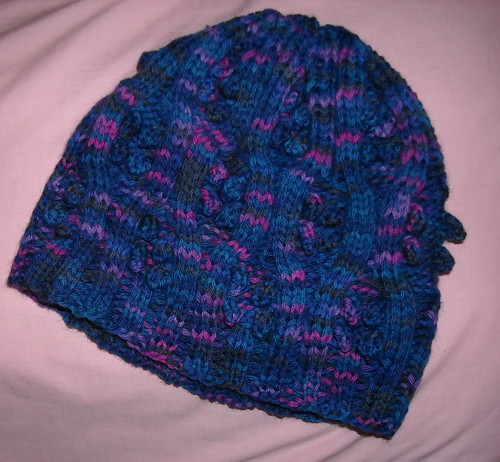
Hello readers, this is Brittany! Yesterday, I finished the bobbles and cable cap. This pattern was another pattern that I knew I had to make almost from day one. It could have been the purple in the book (as I have an addiction to the color purple) or the texture and look, but I just had to make this hat!
As I do with almost every pattern, I first did a little research. This step is something I encourage everyone to do. If you are going to invest your time in making something it is good to see what other people found about the pattern and learn from others mistakes. After all, many people that blog about their projects or write descriptions on Ravelry are not just putting it up there for their health. They are documenting their mistakes or things they would change for themselves (in case they want to make that pattern again in the future) and in hopes that they can save other people from the mistakes they made. If you are looking to do some research on a particular pattern, I would definitely suggest first checking out
Ravelry. I am sure if you are reading this you probably already know all about Ravelry, but if you do not you should definitely check it out. You can learn a lot and meet a lot of interesting people.
When doing research on this pattern I found out the following information: First, there is an errata in the pattern. You can find information on many erratas in the book
here. However, you will notice there is no errata for this pattern. The errata for this pattern would be the fact that there is no bobble pattern. This is quite a problem as it is a
Bobbles & Cables Cap. The errata is mentioned in the pattern notes on the
Ravelry pattern page. It states that you should make the bobble as follows:
K1, p1 twice in same st, making 4 sts from one; slip these stitches back to left hand needle and knit them again; then pass the 3rd, 2nd and first sts over the last st made.
Then after doing a bit more research I found that the pattern was used over 30 times on Ravelry. Many reviews talked about the bobbles and stated things like this:
Noreen1009 - The bobbles the pattern calls for are pretty puny--just increase 4 in one stitch (K1, P1, twice) and then pass the stitches over the last one in sequence. To me, it doesn’t look right. I’m doing a two row, 4 stitch bobble instead. (k1, p1, k1, p1 into one stitch; turn work and knit 4, turn work and purl 4, and then pass the stitches over the last one in sequence).
Hatlover - Modifications: Used Noreen’s Bobble to make it stand out more.
Pprincess626 - Bobbles not big enough - but turned out cute!
Bdorner - Got all the way to the decreases and decided the bobbles were too small.
Since I saw so many comments about the bobbles I looked at pictures and experimented with different ways I could do the bobbles. I finally decided to make my bobbles the same way I did on the starfish cap. If you would like to do the same thing I did, here is the bobble pattern I used: K1, p1, k1 in same st, making 3 sts from one; turn. P3, turn. K3, turn. P3, turn. SK2P.
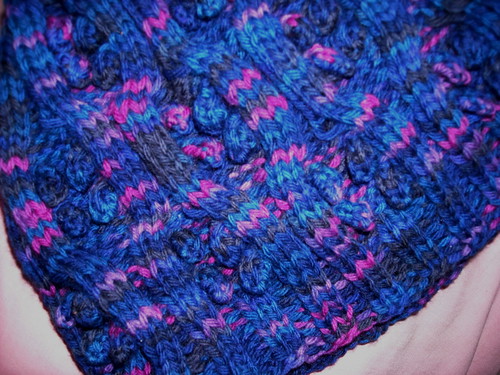
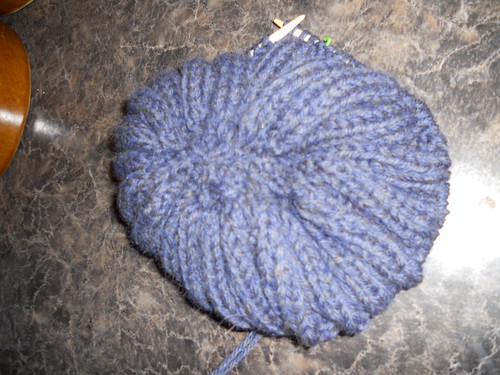
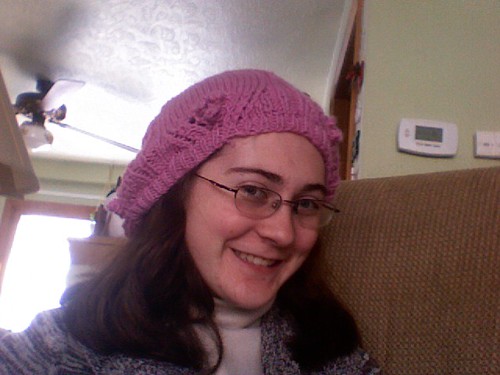
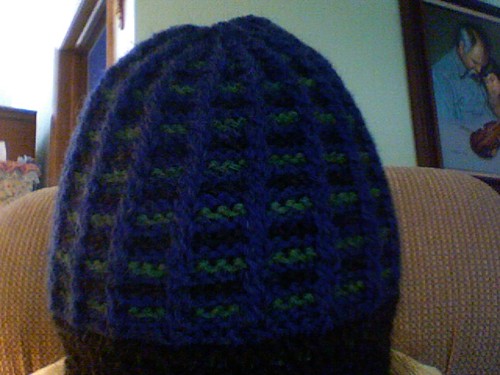
In the end I really liked the way it came out. I would agree with some comments made on ravelry that it is a little big. I would have liked it to be a little bit more snug, but I do not feel as though it will fall off my head.
Yarn Information: Cascade 220 - #9924 (Blueberry Bliss)
I hope you learned a bit about the importance of researching and I hope that my post helps you with your own project. If you would like to see more pictures of this project or any of my other projects check out my
Flickr Account.
Brittany


